Good Morning All.
In middle of environment upgrade and integrating new components. Its quite tiring but exciting as well to play around with newest technologies. So, in pursuit of building central patch and upgrade management using vRealize LifeCycle Manager, started with vRA upgrade which was pending for quite a while now. New upgrade process is such a breeze and in this blog i will be covering whole vRA upgrade process step by step. So let’s get started.
Pre-Requisites
Make sure to check these steps if you are upgrading a distributed environment configured with an embedded PostgreSQL database.
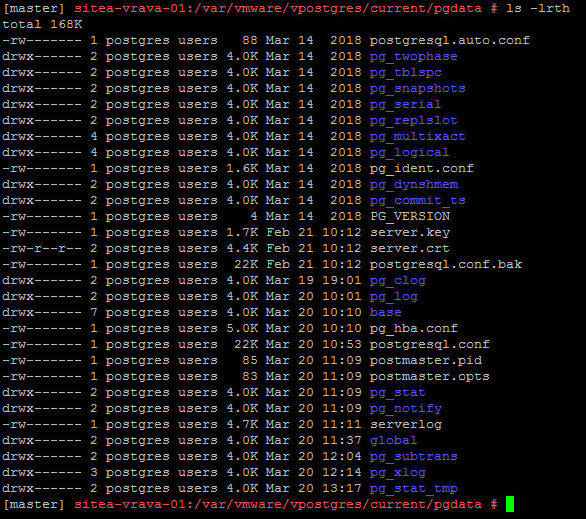
- Examine the files in the pgdata directory on the master host before you upgrade the replica hosts.
- Navigate to the PostgreSQL data folder on the master host at /var/vmware/vpostgres/current/pgdata/
- Close any opened files in the pgdata directory and remove any files with a .swp suffix.
- Verify that all files in this directory have correct ownership: postgres:users.
Sample Output
Pre Upgrade Checklist
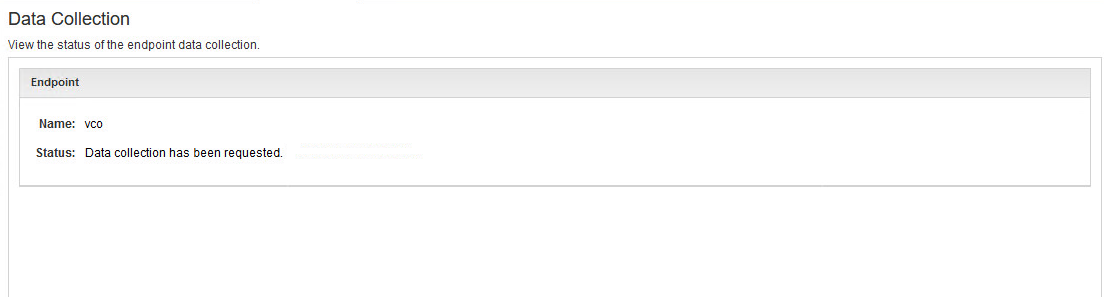
- Run NSX network and security inventory data collection before you upgrade. This is only required when vRealize Automation is integrated with NSX.
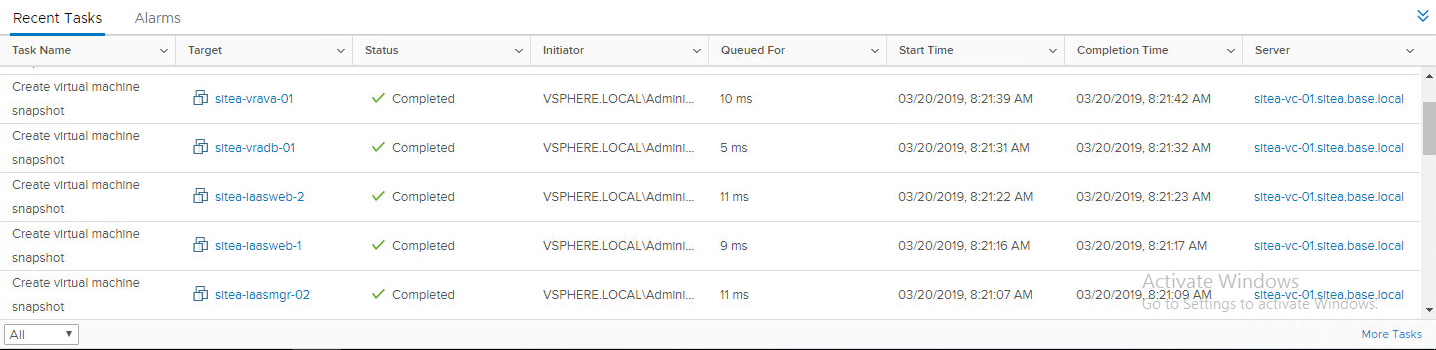
- Backup your environment – very critical. In case of any failure, you can easily revert back to healthy state. I used snapshots to serve as recover point during upgrade.
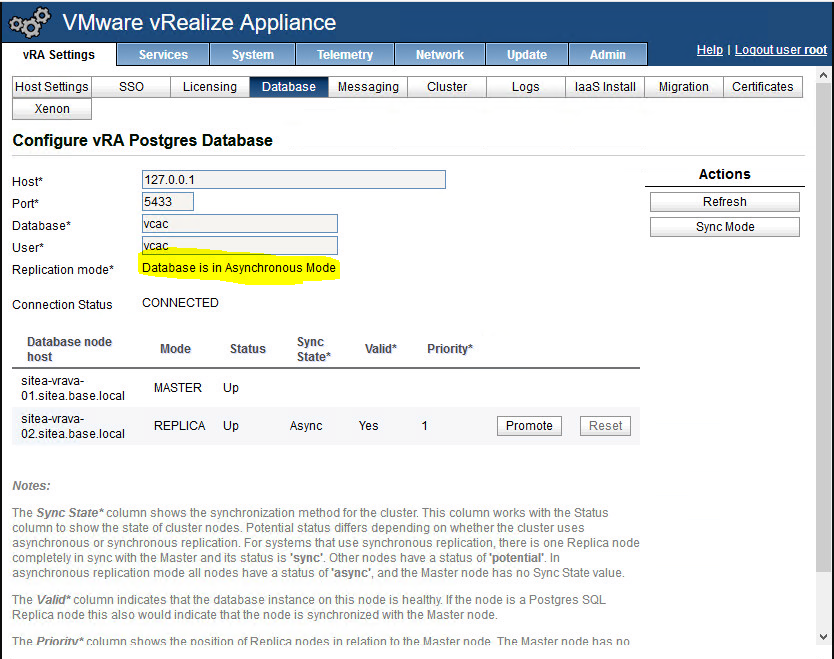
- If you are upgrading from vRealize Automation 7.3.x, disable the PostgreSQL automatic failover.
- Use Async Mode button to change database synchronization.
- Download updates to the vRealize Automation appliance

- Disable your load balancer. I am using NSX load balancer, so I disabled all health monitors and disabled redundant nodes from VIPs. Follow similar process for your environment.
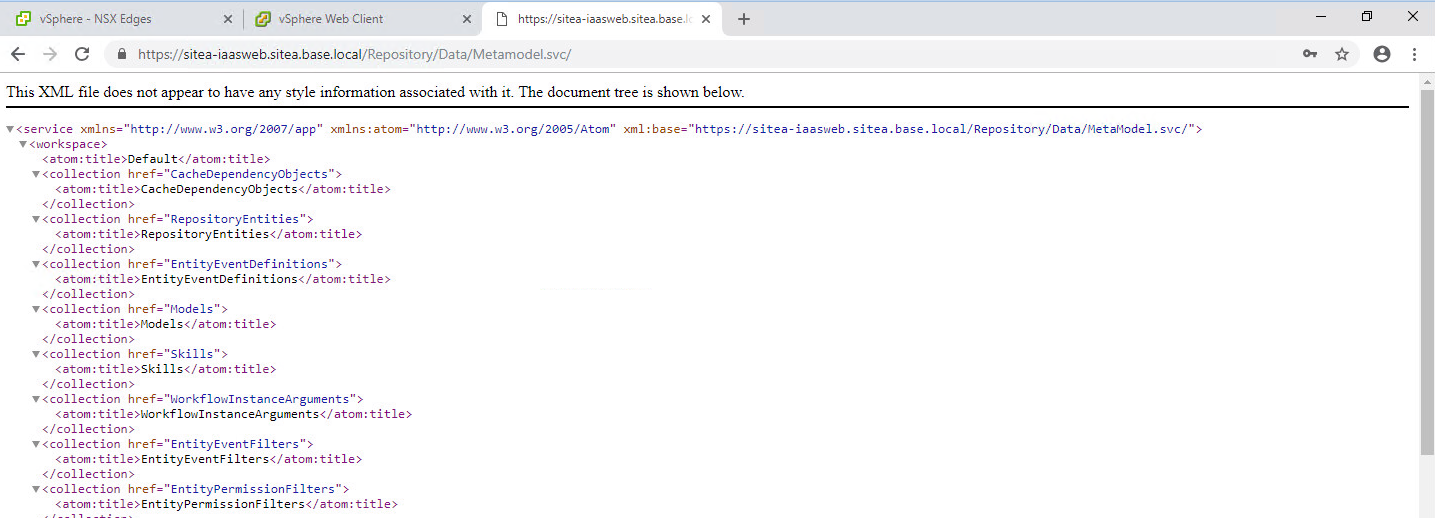
- Verify that the IaaS service hosted in Microsoft Internet Information Services (IIS) is running by performing the following steps:
- Go to browser and type below URL:
https://webhostname/Repository/Data/MetaModel.svc
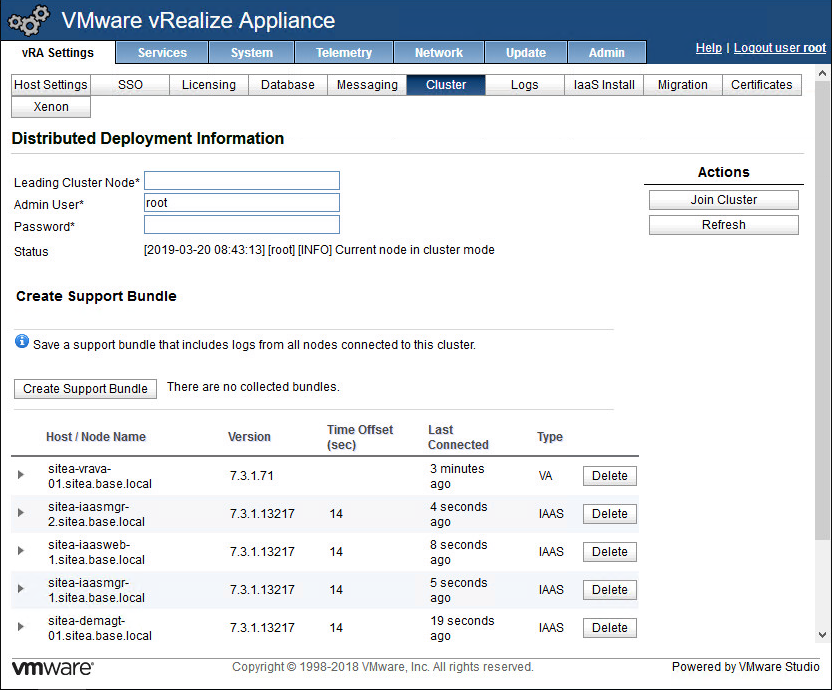
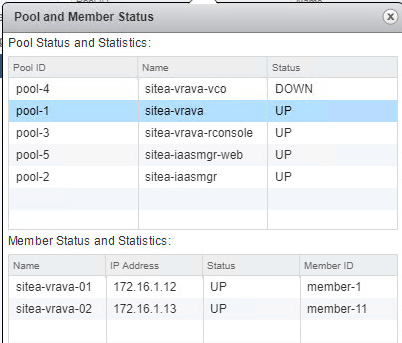
- Verify status of all nodes and their last connected state by going to vRA VAMI -> vRA Settings -> Cluster
Upgrade Process
- Login into Master vRA Appliance management interface as root.
https://<vrealize-automation-appliance-fqdn>:5480
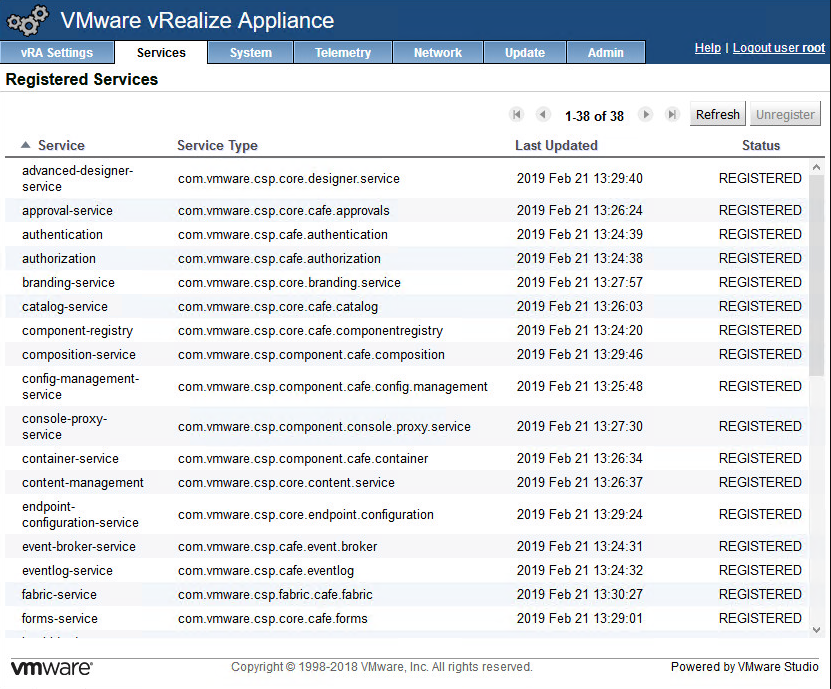
- Check services and all should be registered.
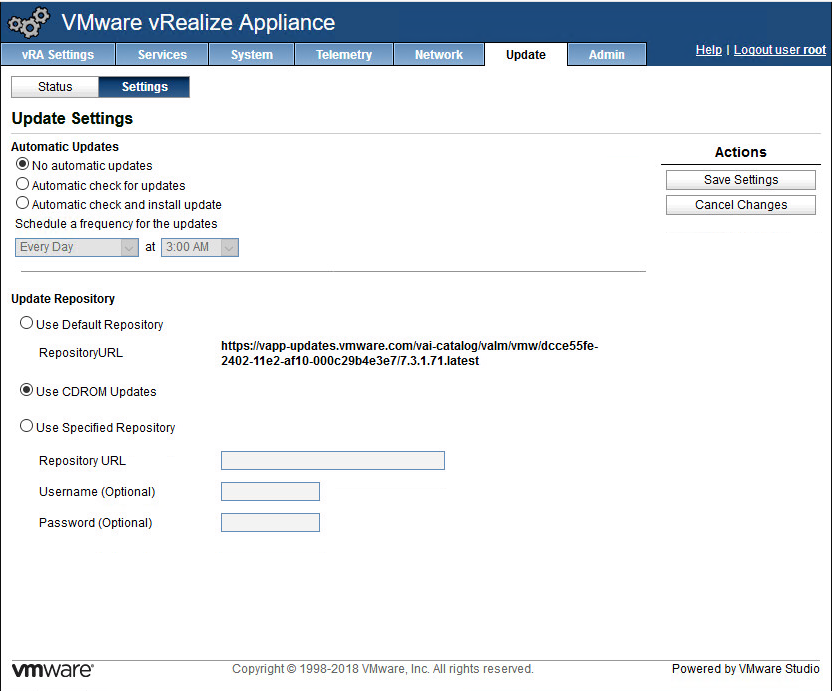
- Go to updates -> Settings and select Use CDROM Updates as we will be updating using ISO and save settings.
- Mount ISO using remote console and click on Check Updates in Status tab.
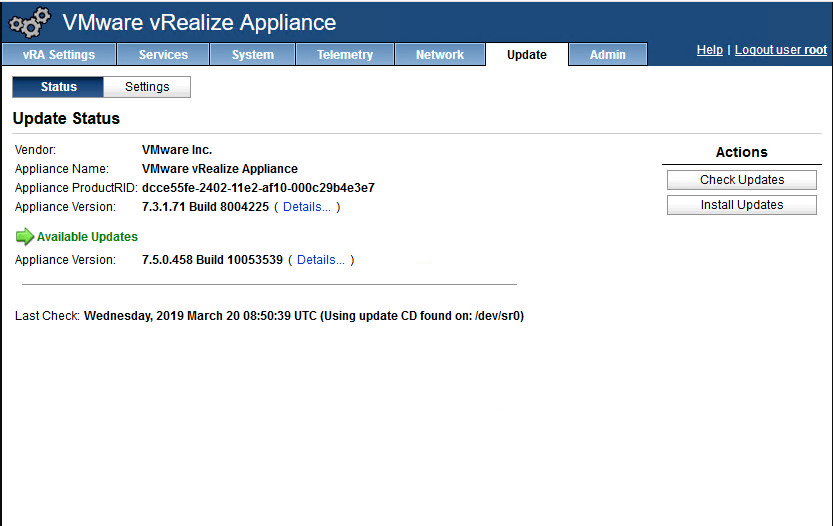
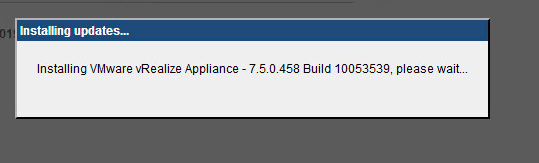
- Click Install Updates to start installation.
- After Replica nodes and Master are upgraded successfully, you will receive below message.
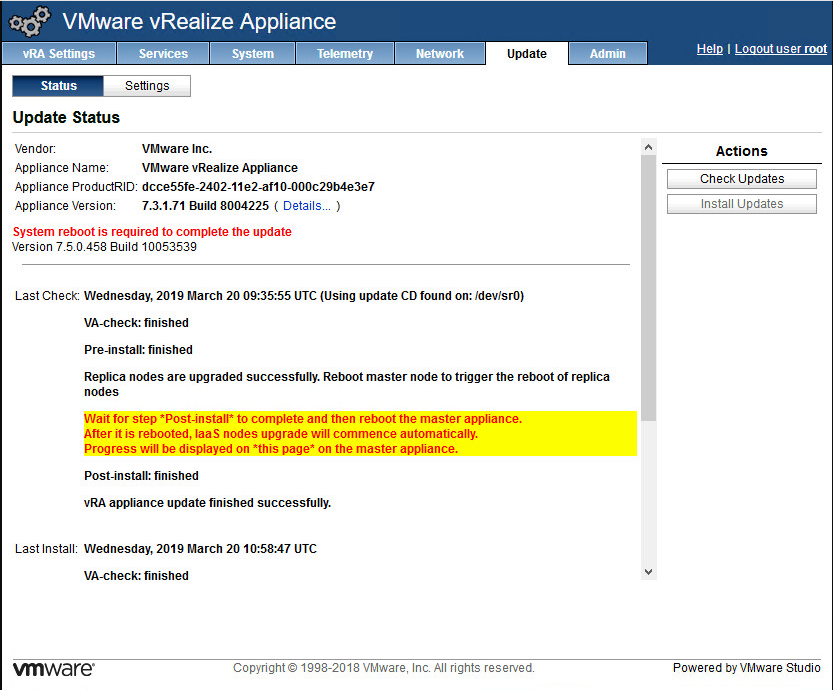
- So half is done and another half is remaining. Reboot Master node and it will trigger reboot of Replica nodes as well.
- Reboot Master node to continue with installation.
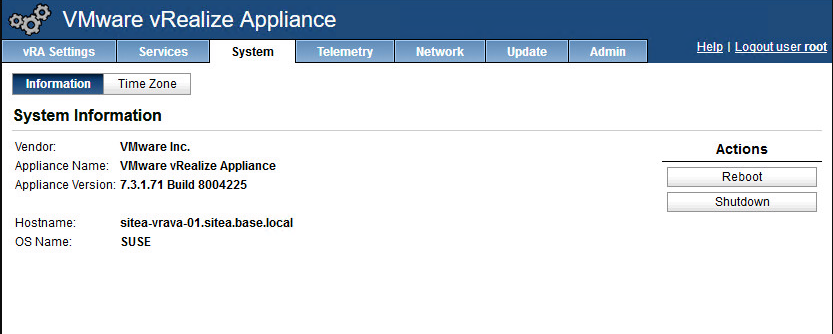
- Iaas Upgrade will start automatically after vRA appliance reboot is completed and services are started.
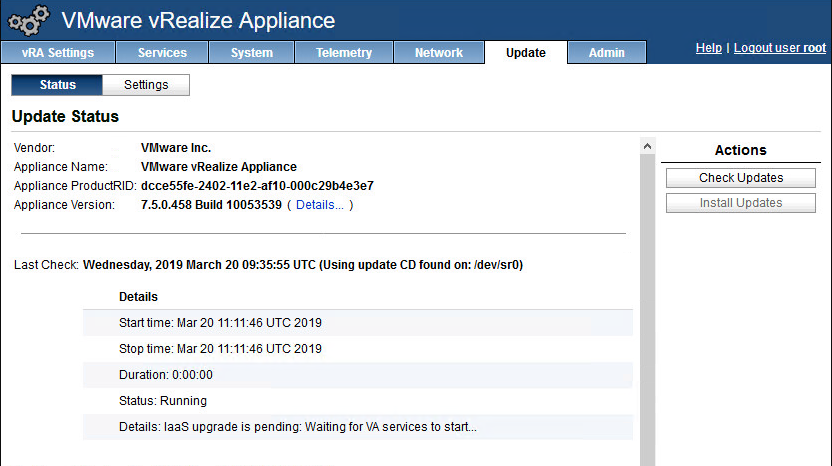
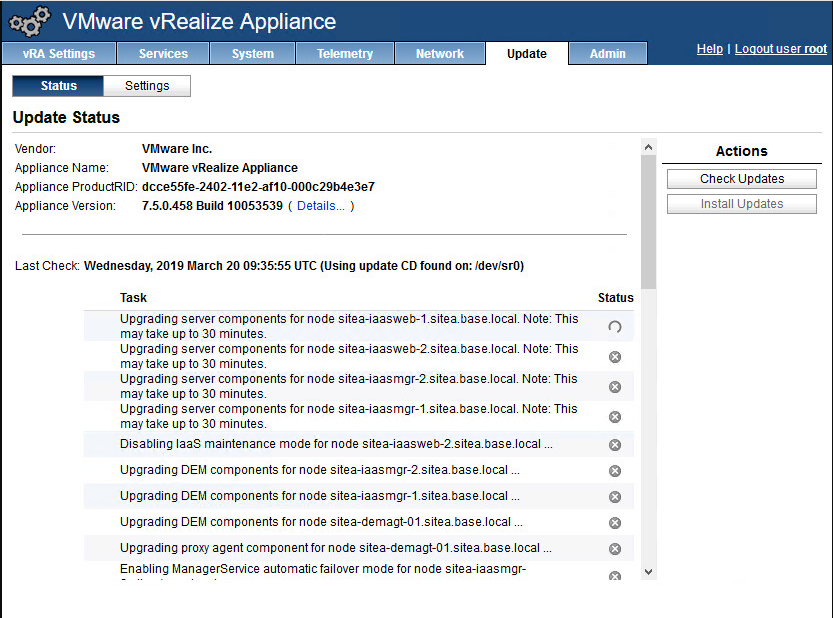
- IaaS component upgrade will start and will show you status as below. It may take some time to complete this process.
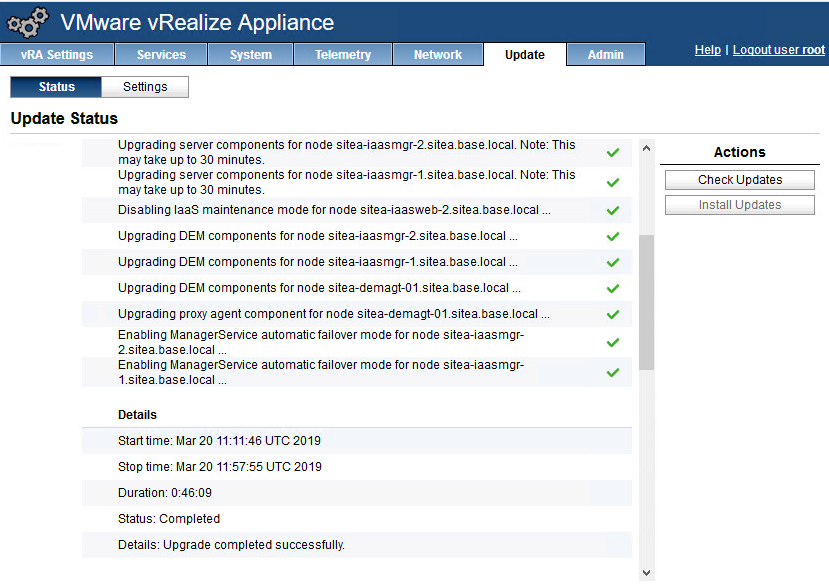
- Once all components are upgraded, you will receive message that upgrade is successful.
Post Upgrade Task
- Enable Health Check Monitors in Load Balancer.
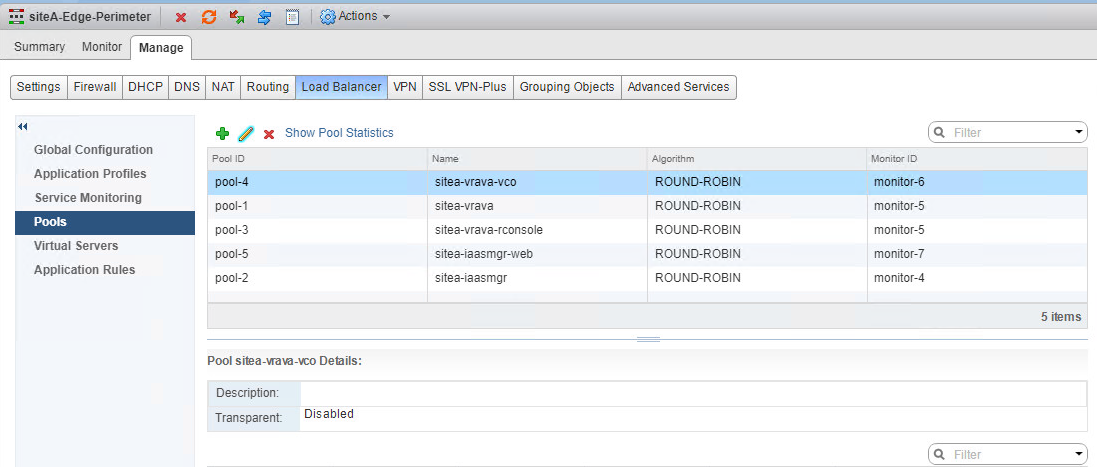
- Enable second node in server pool to distribute traffic.
- Create a Health Monitor to test vRA environment and start testing.
Issues Encountered:
- Upgrade failed at pre-install script check because of .NET framework error due to missing sources on one of IaaS server. Make sure to install non-http activation feature under .Net 3.5 to avoid this error.
In my opinion this is the simplest upgrade so far. If all pre-requisites are in place, you can sit back, relax and see vRA do its magic. The whole upgrade process took approx. 2 hours only considering this was a lab environment, still it’s a very good and fast upgrade.
I hope you like this guide. Let me know your thoughts on same.
Complete Upgrade Guide by VMware:
https://docs.vmware.com/en/vRealize-Automation/7.5/vrealize-automation-7172732to75upgrading.pdf
