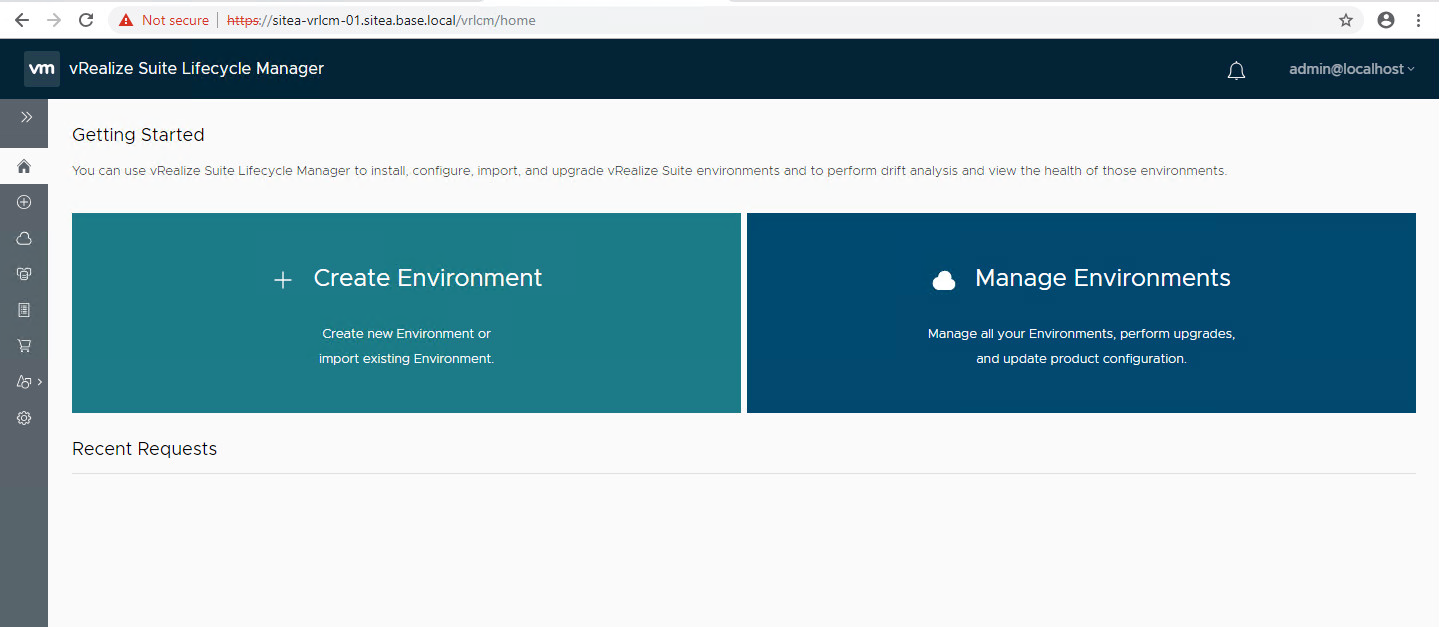
Finally deployed and configured vRealize lifecycle manager over a week. Imported vRealize automation as well as deployed new components. This blog covers my journey in form of step by step guide on vRealize Lifecycle Manager. So let’s get started.
Initial Deployment and Configuration
- vRLCM is packaged through OVA template and deploying it is really easy. Use vCenter server to deploy OVF template and provide Network settings etc. to complete deployment.
After successful deployment, go to web browser and open below link:
https://<vrlcmIP>/vrlcm
- Login with default admin credentials
- Username – admin@localhost
- Password – vmware

- As soon as you logged in, it will ask to set password for root account. Provide new password of root.
- And we are done, vRLCM is deployed and will present its first login screen
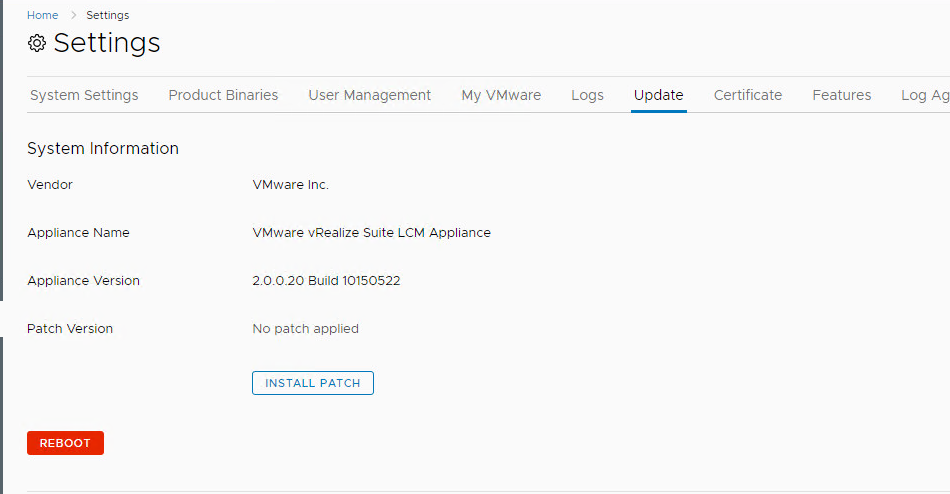
vRLCM 2.0 Compatibility with vRNI 4.0
vRNI 4.0 is compatible with vRLCM after installing patch 2 only. So we will install patch 2 for vRLCM 2.0.
- To install patches, Go to settings -> Updates -> Install Patch

- Upload Patch File downloaded earlier and click Next
- Review details and Install Patch.

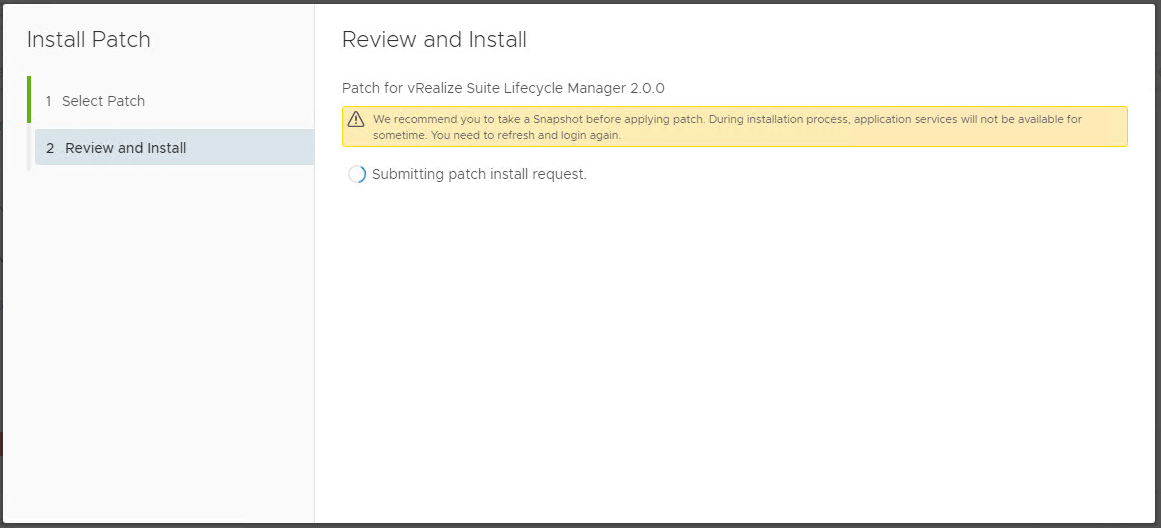
- Wait for some time to get patch installed, it will start showing under maintenance window so don’t worry. You will be redirected to home page after patch installation is complete.

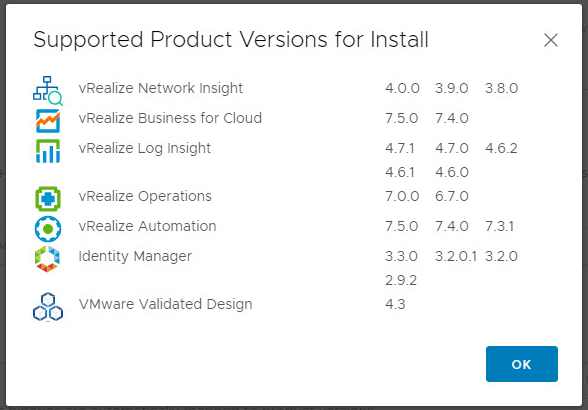
- After installing patch vRNI 4.0 is listed as supported version.
Configure Product Binaries
- If we need to deploy components using vRLCM then their product binaries need to configured first. If you are importing existing environment then configuration of product binaries is not necessary. You can configure product binaries with below options:
- Local
- NFS Share
- My VMware account to download binaries directly from internet
- To configure product binaries, go to settings -> Product Binaries

- I have created a NFS share and saved all binaries in same. So I will add NFS share to discover all binaries in one go. Provide base location and click on Discover.
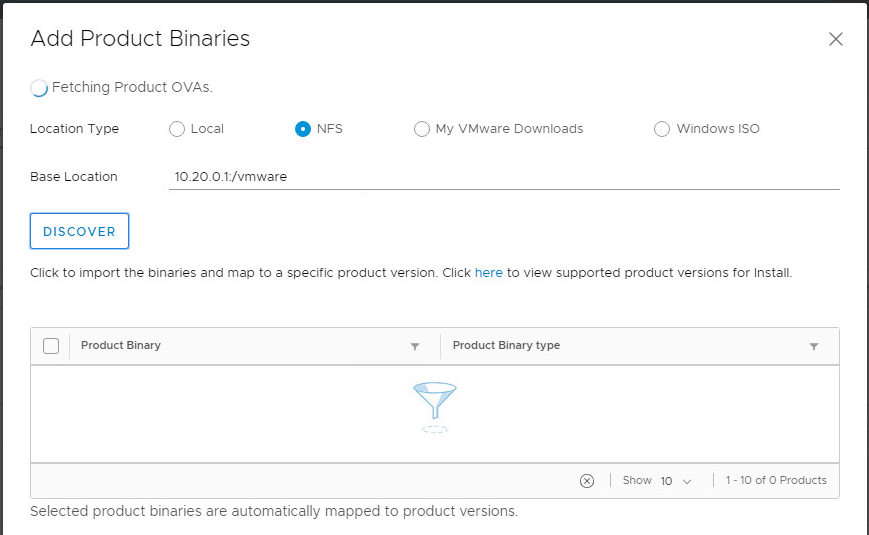
- It will add all the valid product binaries and list them in window.
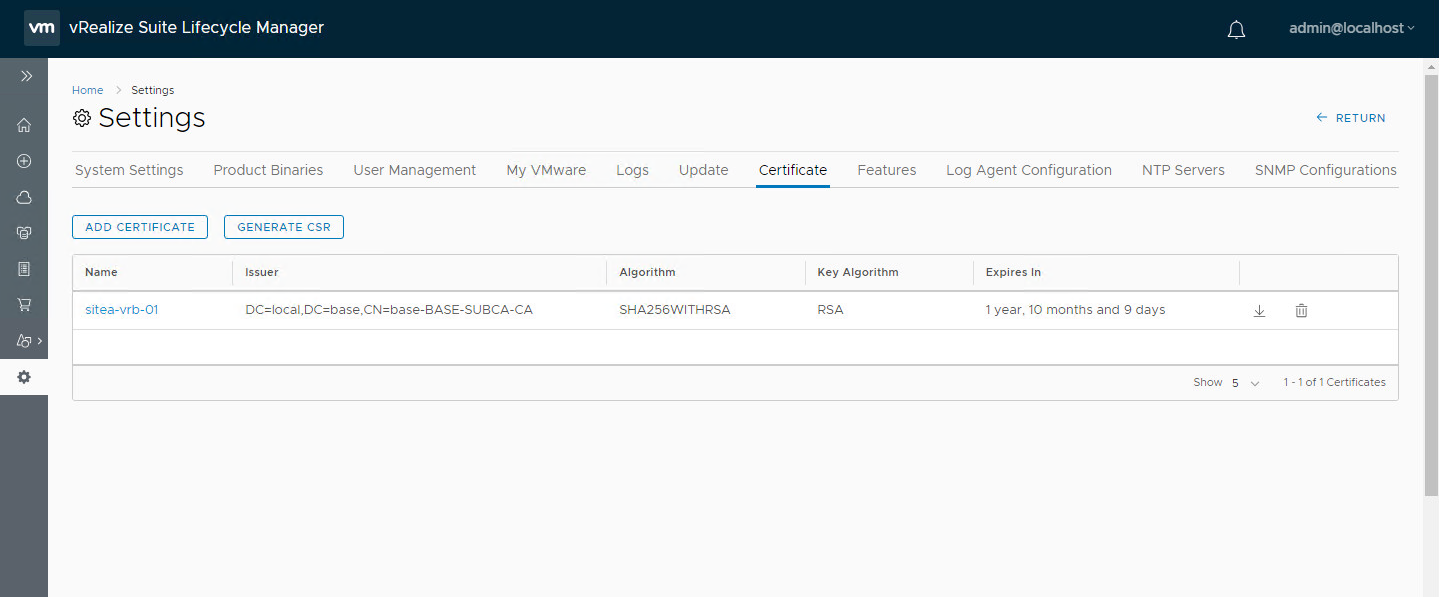
Adding certificates in vRLCM
- In order to deploy components from vRLCM, certificates should be added to lifecycle manager. You can use vRLCM to generate certificates or use CSR to add certificates from external.
- Generate a certificate signing request by going to Settings -> Certificate -> Generate CSR
- Once CSR is generated and certificate is generated using CSR. Import them in vRLCM.
- Go to Settings -> Certificate -> Add Certificate

- You can create a PEM file to import certificate using file import option or you can copy paste certificate in respective field. PEM file format should be as below:
——-Private Key——–
——-Domain Certificate——–
——-Intermediate Certificate if any——–
——-Root Certificate——–
- Use Browse option to select file you have created earlier and all options will be populated automatically.
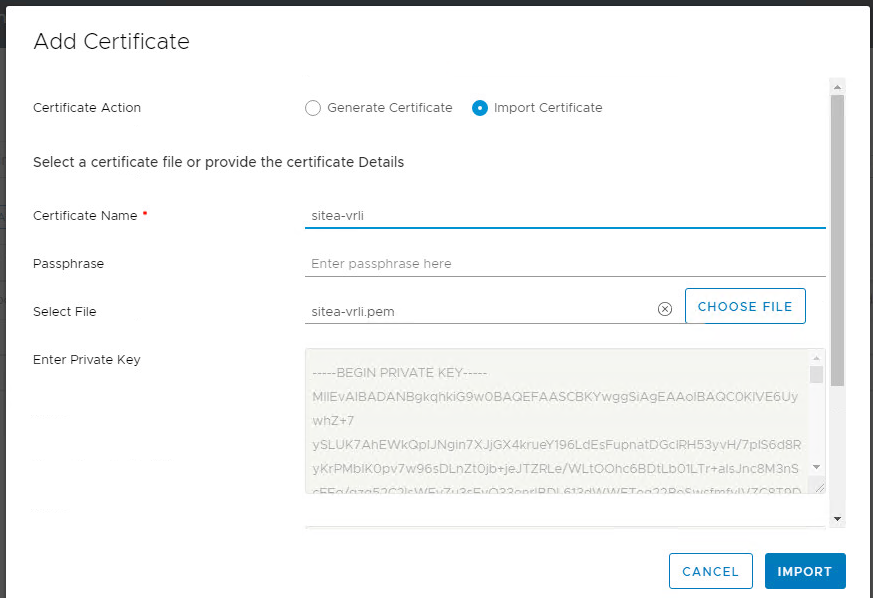
- Click on Import and certificate will be imported successfully.

Step by Step Guide to Build Environment
So we have completed initial configuration of vRealize Life Cycle Manager. We can now start building our environment.
Add a DataCenter
- First task is to create a data center. Go to Home -> Datacenter and click on Add new Data Center.

- Provide a name and Location of Datacenter and click on Add to save Data Center.

Manage vCenter Server
After datacenter is added, we need to add vCenter server which will be used to host components deployed from vRLCM or contain VMs of environment which we need to import.
- In same location, Home -> Datacenters, go to Manage vCenter Server tab.
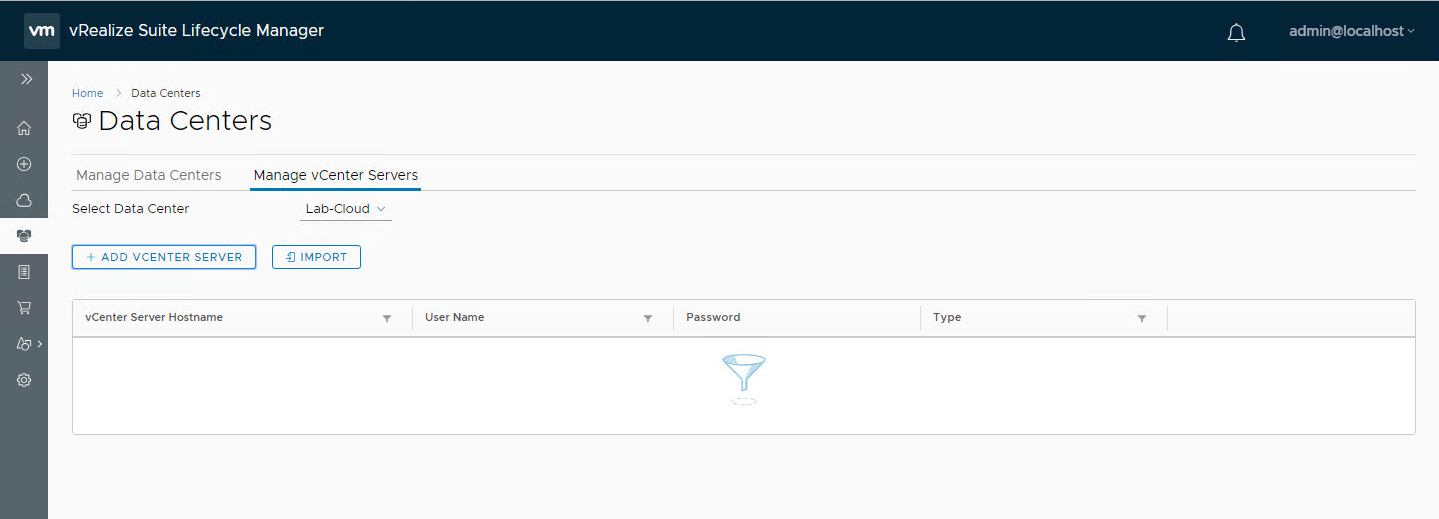
- Click
on add vCenter servers and a new dialogue box will be opened. Provide vCenter
server name, credentials and select which type of vCenter it is.
- If it is being used to manage VMware environment and components then select Management,
- If it is being used to host only workload VMs then select Workload
- If both Management and Workload VMs are running in same vCenter then select consolidated and click on Add.
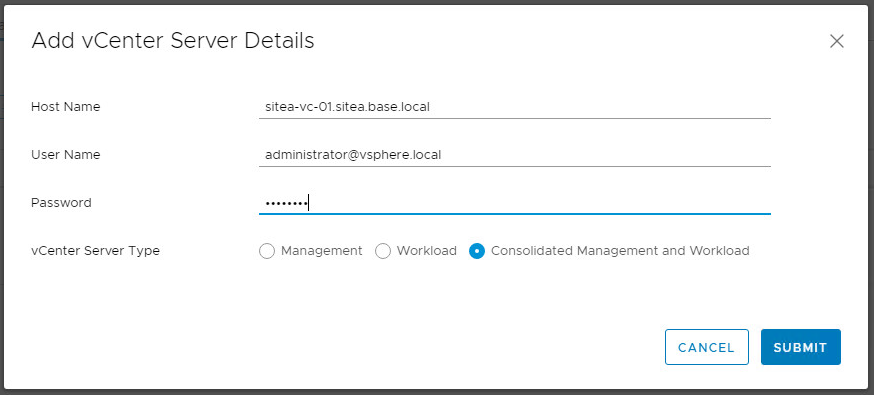
- Request will be submitted, which you can monitor by going to Home -> Requests

Import Existing vRA environment and add New components
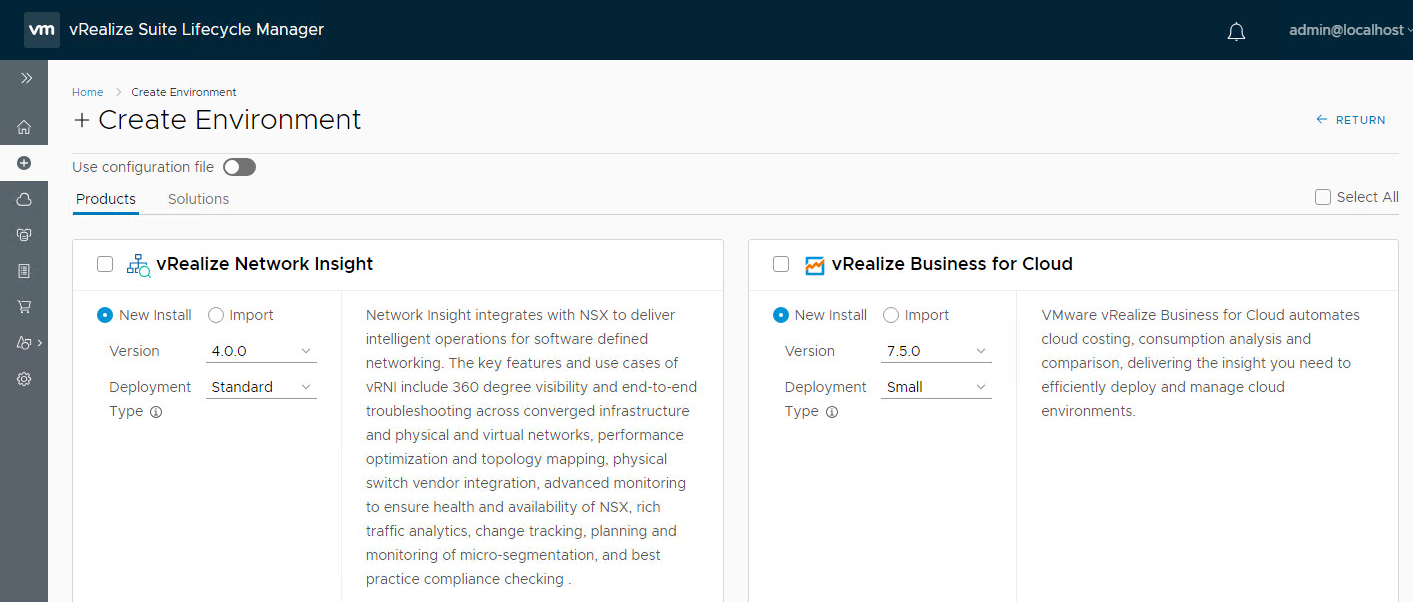
So we are now ready to create environment and either deploy new components or import existing ones. In this example, I am going to import vRealize Automation environment and deploy vROPs, vRLI, vRNI, vRB using vRLCM.
- To start, go to Home -> Create Environment

- Select Datacenter created earlier and provide rest of details, such as email address, default password etc. and click Next.
- Next page will display, which appliance to deploy or import. For every component, if new deployment is required select New Install or Import of existing environment is required select Import.
- Next page is to accept EULA. Accept EULA and select Next.

- Provide required License keys for product selected.

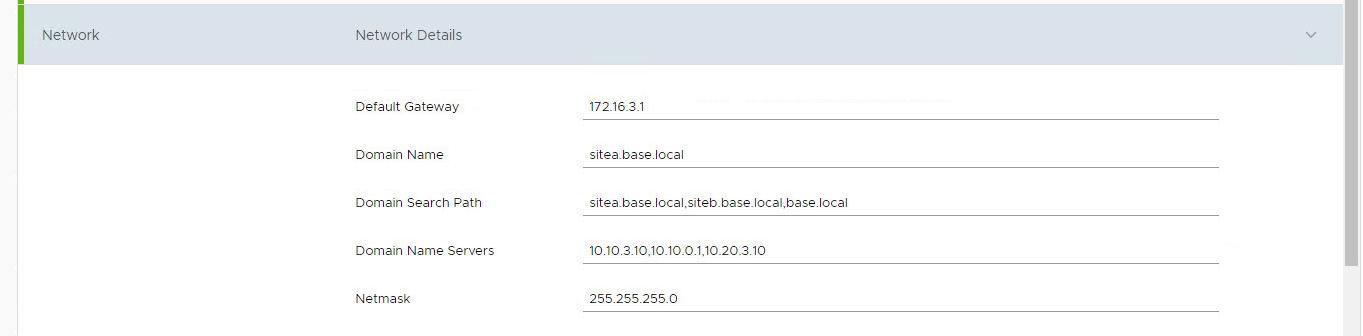
- Configure vCenter server and network settings. These are default configurations such as gateway, DNS, domain name which will be common for all appliances being deployed from vRLCM. You can choose to override default network configuration during configuration of individual components.

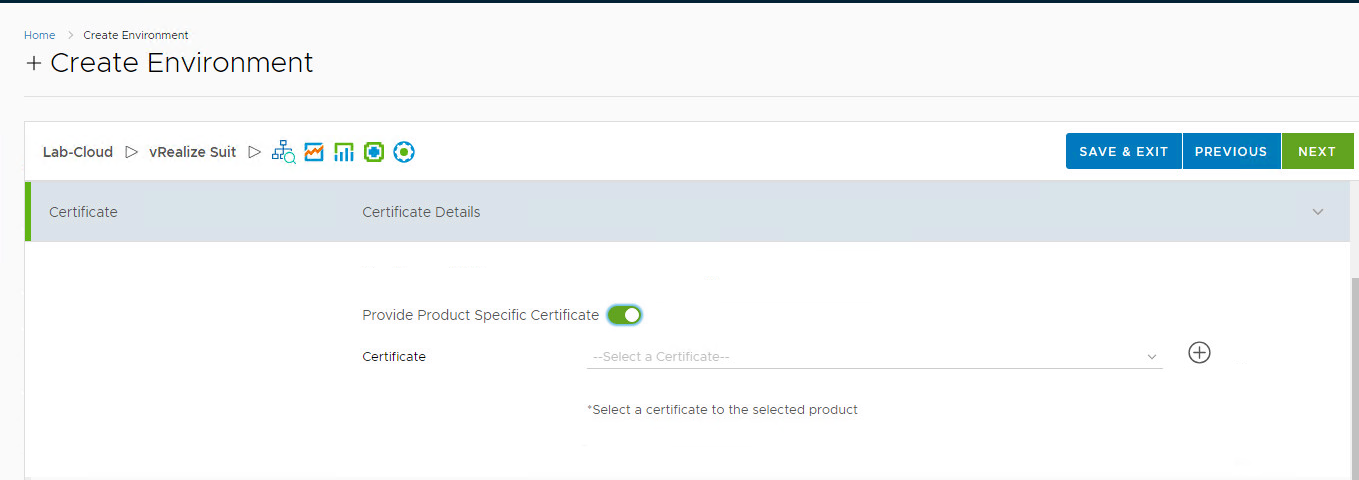
- Next step is to select certificates. If you are using wild card certificate, then deselect Provide product specific certificate else select Product specific certificate. Select certificates imported earlier for specific products.
- Now, we need to configure settings for each component selected earlier.
- Different setting for every component – VM name, IP address, Hostname, NTP Server, Product specific configuration such as currency in case of vRB.
- Same setting for every component – Password, Network configuration
- You can select Advanced option to override any default configuration.
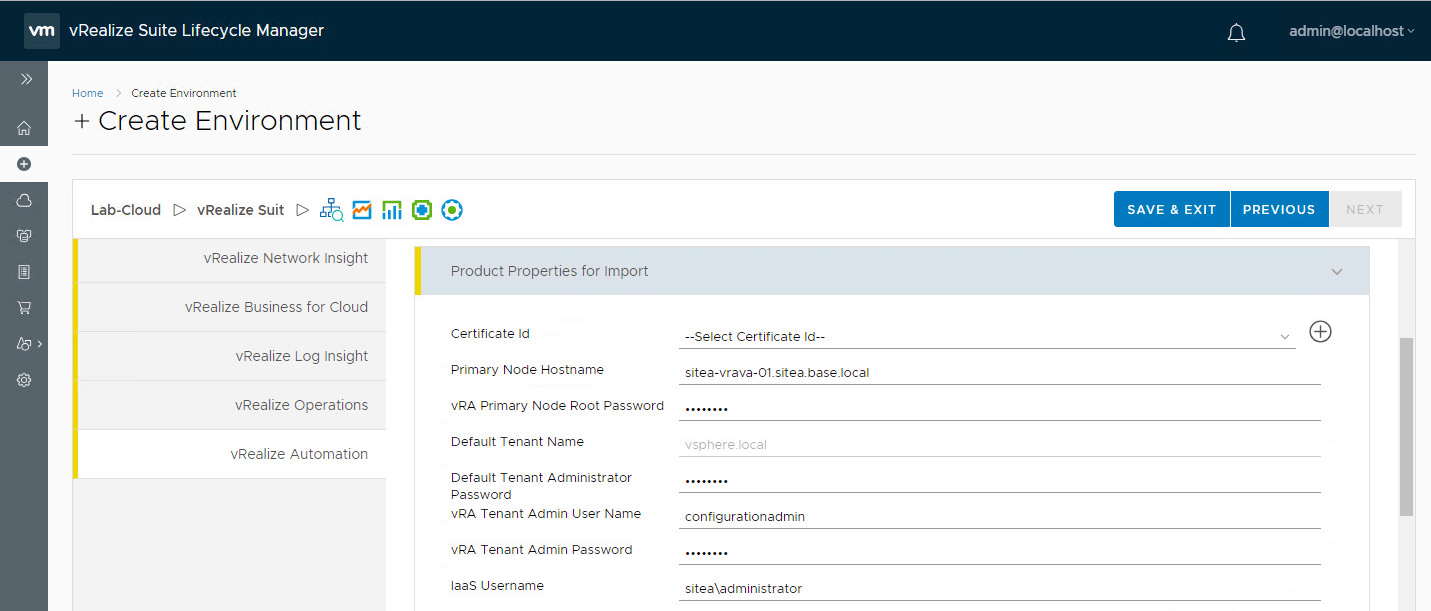
- In case of import of vRA – provide Master appliance node FQDN, root password of appliance, default system administrator password, default tenant password, rest all configuration will be handled by vRLCM

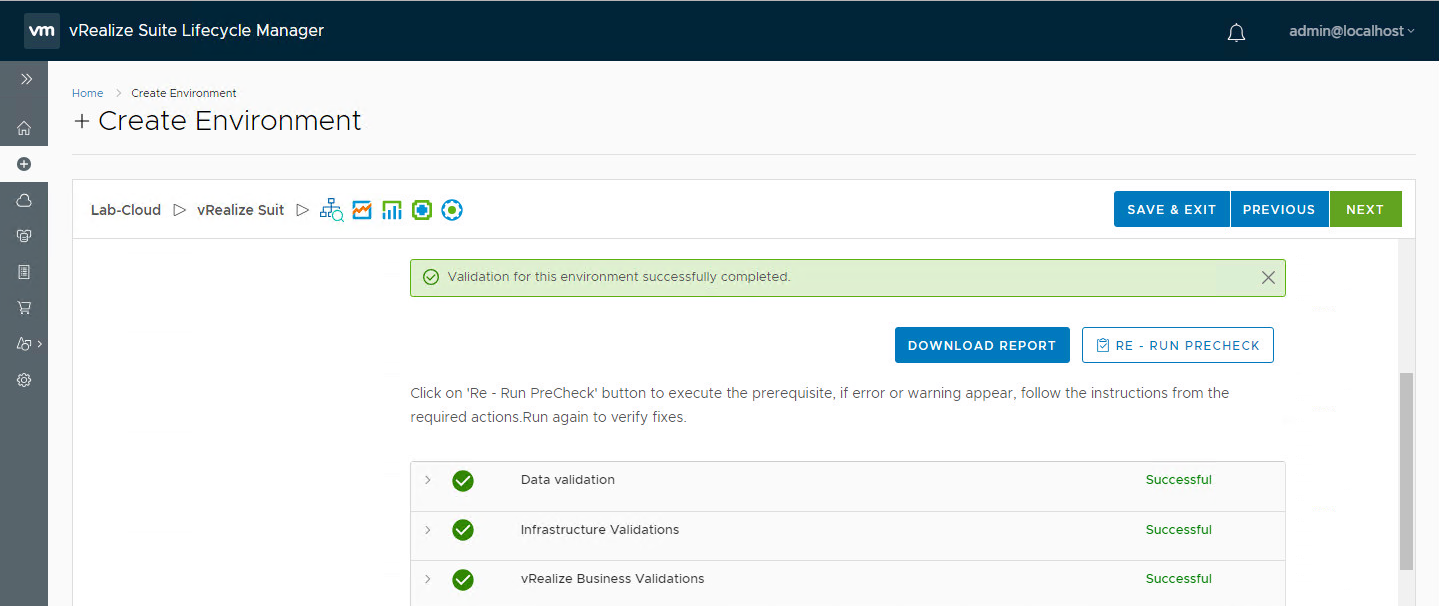
- Once all components’ details are provided and all are green, it will ask you to run Prechecks. Click on RUN Precheck to run validations.

- Troubleshoot any error if occurred during validation. If all is green, Click on Download Report to save for future use and click Next.
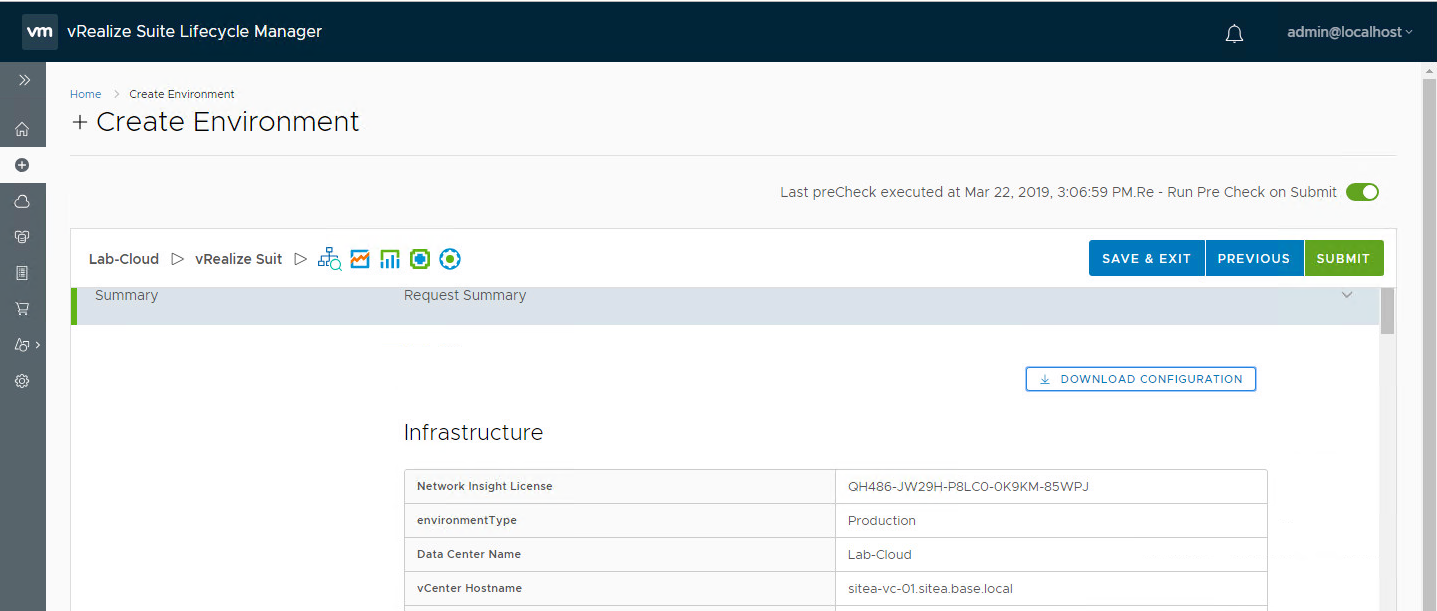
- It will show summary of all configuration, review it and click on Submit to start deployment or import or both.
- You can verify requests page to look at status of your environment build.

Issues Encountered
- vRLI doesn’t support more than two domain name servers – use advanced settings to override default network settings.
Whew! Quite a long guide and a lot of things to cover. This was one of interesting deployment which I did last week and consumed a lot of my time. But interesting piece of work. Your whole lifecycle management of vRealize Suite is very easy and just a couple of clicks. Other features provided by vRealize Lifecycle Manager:
- Certificate Replacement
- Password Management
- Patch Management of entire vRealize suite
- Upgrade of suite
- Snapshot management of whole environment
Still exploring more features. Let me know if you would like to see a guide on any particular topic. Till next time. Logging off!
