So, one of target to achieve VCAP-NV was completed successfully. Now, its time to upgrade lab as well, as old lab was running on VCSA 6.0 and VMware has recently released 6.7 U3. This blog will explore step by step process to upgrade vCenter server appliance. This upgraded lab will serve for NSX-T deployment as well.
Upgrade process of VCSA is a two step process. In stage 1, it will deploy a new vCenter server appliance similar to new deployment. Once, new appliance is deployed and up on network with a temporary network configuration, stage 2 will start. In stage 2, it will connect to old vCenter server appliance, export all configuration, optionally performance metric and events as well. Once export is successful, it will shut down old VCSA and reconfigure new VCSA will exported configuration. Once all steps are completed successfully, VCSA will be upgraded to 6.7 U3 and older VM can be removed. So, let’s look at all steps one by one:
Step by Step Guide
- Mount vCenter server ISO and run the appropriate installer file based on base OS. From initial menu select upgrade.

- Selecting upgrade option will open a new window. It will show options which are presented during normal deployment of stage 1 and stage 2.

- Accept End User licence agreement and click Next.

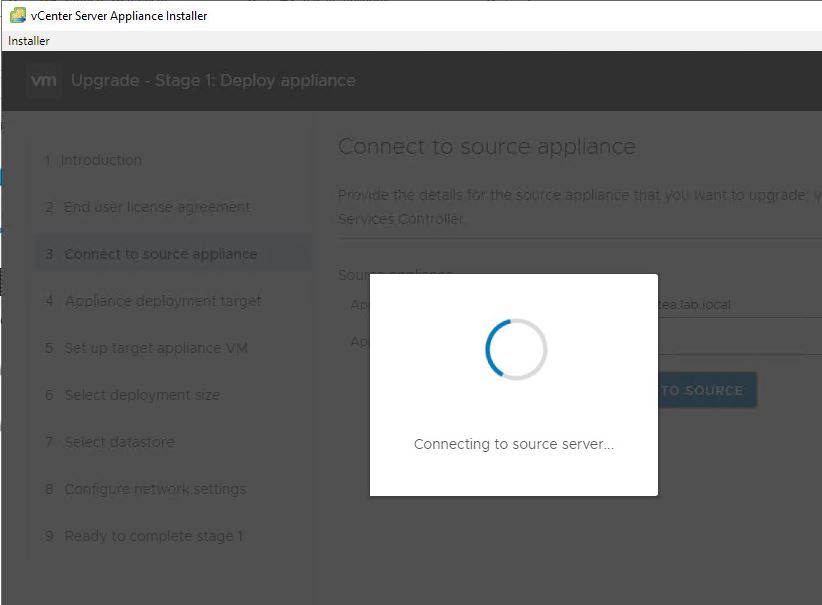
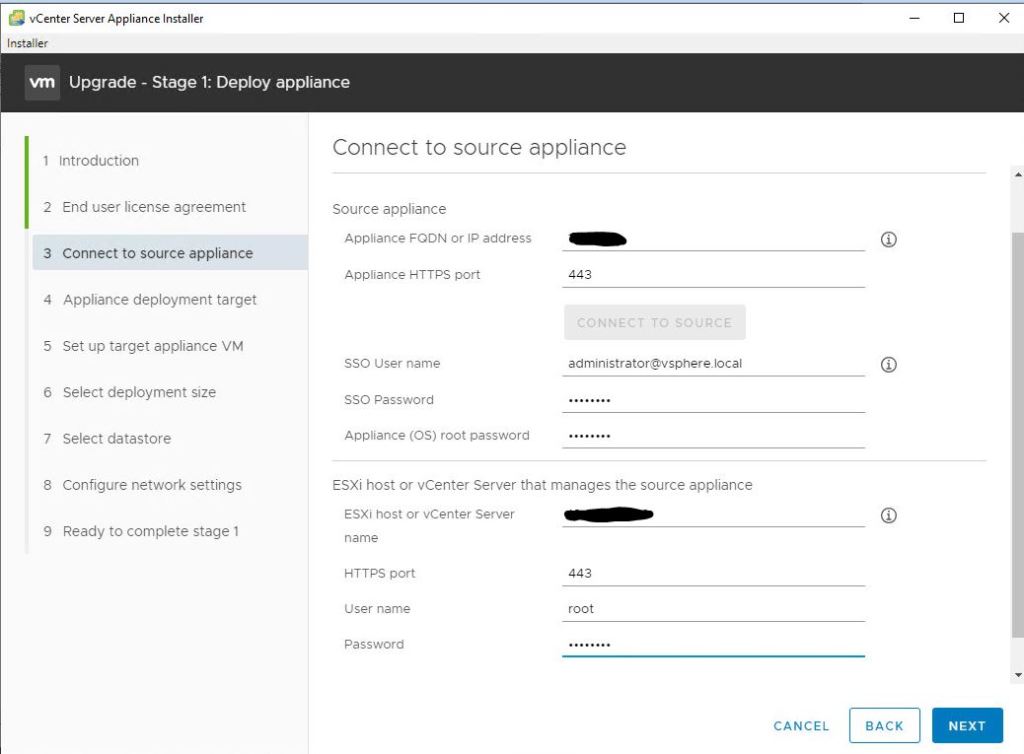
- Provide IP or FQDN of old vCenter server appliance and click on connect.

- Accept the thumbprint provided by old vCenter server appliance and it will ask for credentials of SSO domain, root and ESXi host or vCenter server managing the old VCSA VM. Do not provide, credentials of ESXi host where new VCSA VM will be deployed.
- Provide the ESXi host or vCenter server details where new VCSA VM will be deployed.

- Select the size of new VCSA VM and other configuration details such as datastore etc.

- Provide temporary IP details for new VCSA VM. This will be used to bring new vCenter server appliance up on network and proceed with stage 2.

- Review the final configuration and click on Finish to start deployment of new vCenter server appliance.
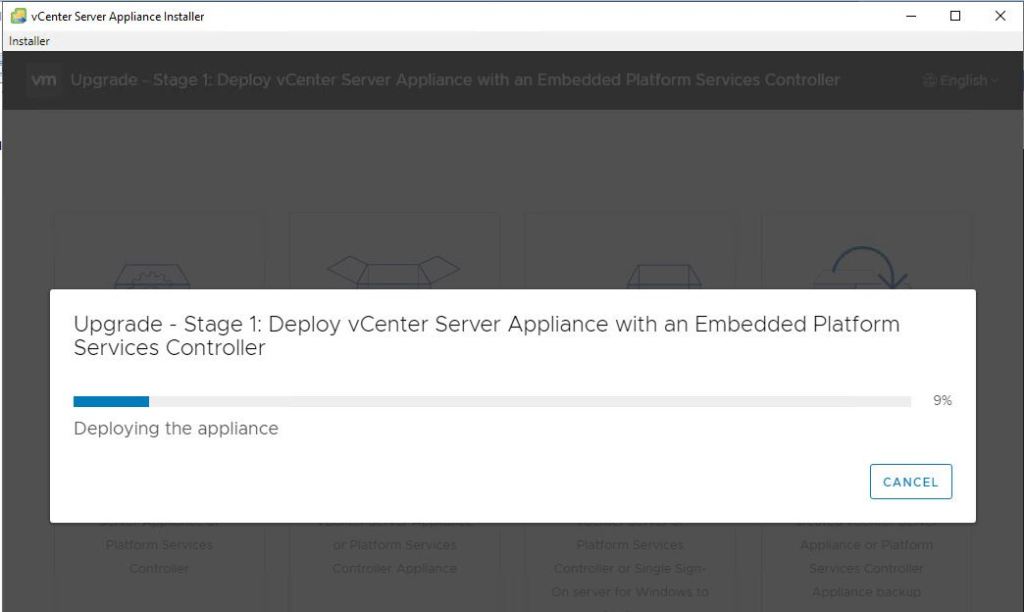
- Once the deployment of VM is complete and it is up on network. Stage 2 of upgrade will start.


- As you click Next, based on inputs provided earlier, pre-upgrade checks will run.
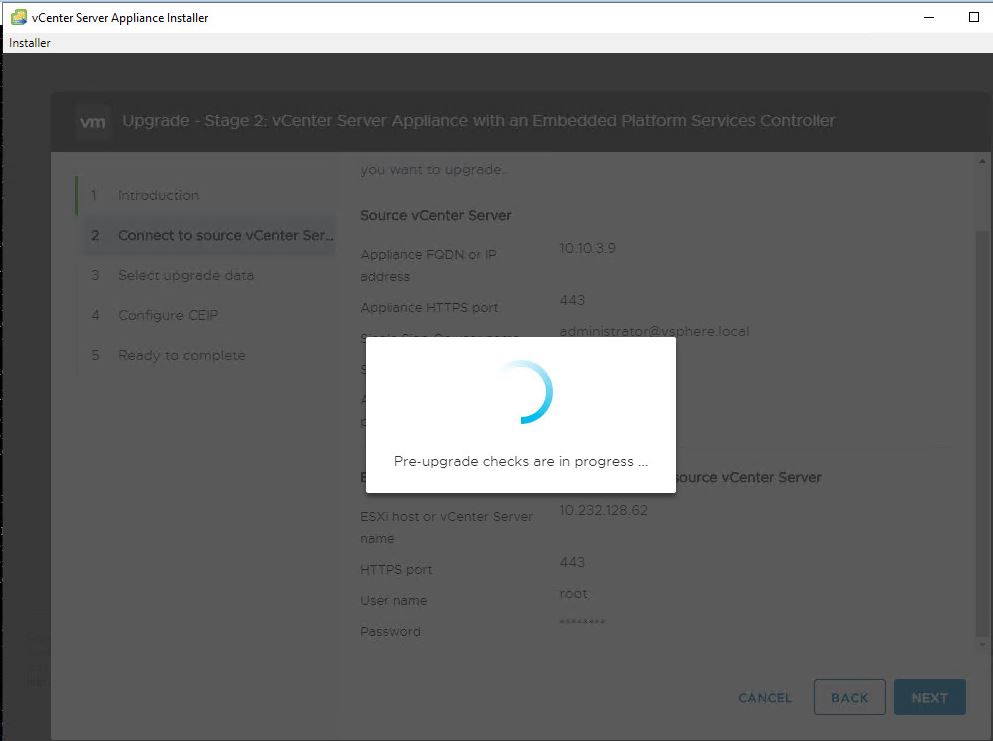
- Once pre-upgrade checks are complete, it will ask you to select that needs to be migrated from older VCSA 6.0 to new VCSA 6.7 U3.

- Configure CEIP.

- Review the final configuration, and click on finish to start final stage.

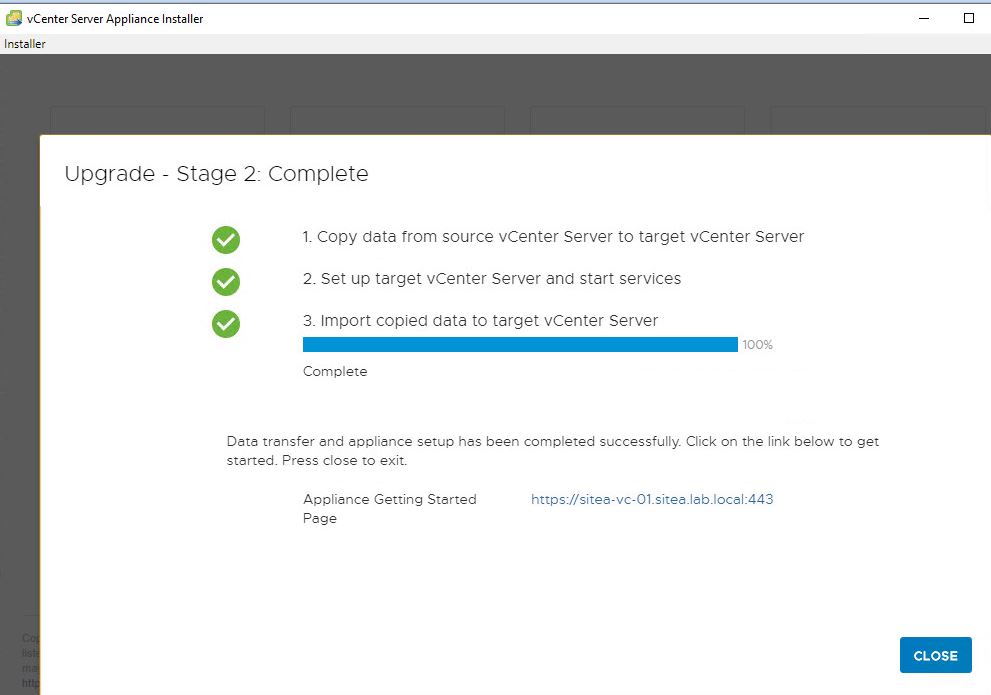
- In three step process, step 1 will export all selected data from older VCSA VM and once export is successful, it will shut down old VM.

- Once step 1 is complete, in step 2 it will reconfigure new VCSA VM with required configuration such as SSO domain, network settings etc.

- In step 3, it will import all selected configuration to new VCSA VM. Once all services comes online, it will show as complete.
This completes the upgrade of vCenter server appliance. Process has been made much easier and very easy. Upgrade of vCenter server appliance is a breeze now.
Hope you like the post. If you have any questions related to upgrade, post it to me. Would like to know more about your experience with VCSA 6.7 U3.
