vSphere 7.0 has been announced as General Available by VMware and is ready for download. So, its time to start upgrading lab. Starting vSphere 7.0, option to use external PSC is completely removed and any existing distributed deployment needs to be migrated to embedded deployment. In this article, we will be looking at how to upgrade a distributed deployment of vCenter server 6.7 to vCenter server 7.0.
- Upgrade to vCenter server 7.0 is very simple and straight forward process. VMware has provided ISO for VCSA 7.0, so mount it and run installer. As we are performing upgrade, so we will be selecting upgrade to upgrade existing VCSA 6.7.
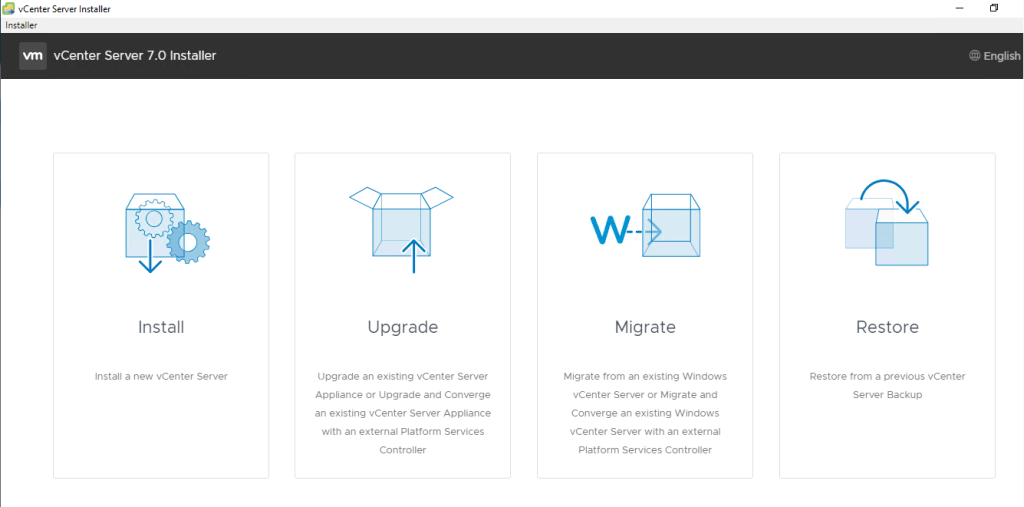
- Upgrade to vCenter 7.0 is a two step process. Also, in starting of upgrade, installer will throw warning as well as external PSC will be converged with embedded PSC.

VMware KB to merge external PSC with embedded PSC
- Accept EULA

- Provide IP/FQDN of source vCenter server and click on Connect.
- Then it will ask for SSO/root password and credentials of host or vCenter server managing VCSA 6.7. Provide these details and select Next.

- Installer will again throw a nice warning that external PSC will be converged to embedded PSC. Select Yes to continue.

- Provide ESXi/vCenter server details which will be used to deploy new VCSA 7.0 appliance.

Note – Target ESXi version should be 6.5 or above. ESXi version 6.0 is not supported for VCSA 7.0 deployment.
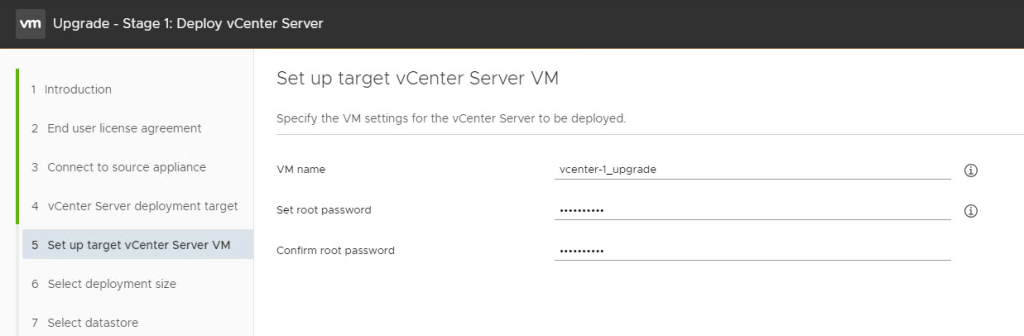
- Provide root credentials for new vCenter server appliance.
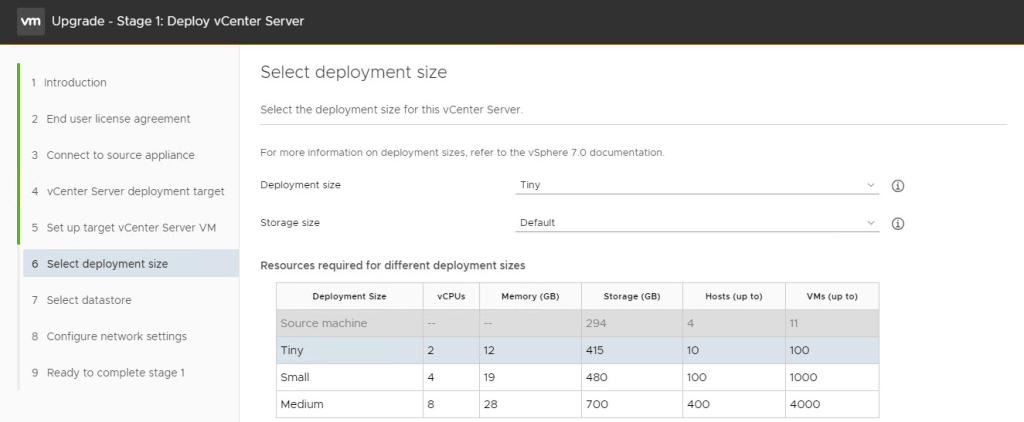
- Select size of VCSA appliance based on number of ESXi host and VMs to be managed.
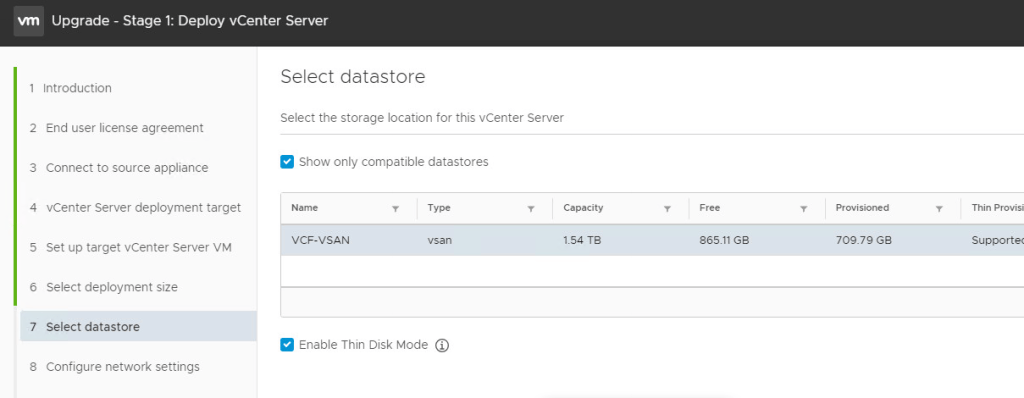
- Select Datastore and select if you wish to enable thin disk provisioning.
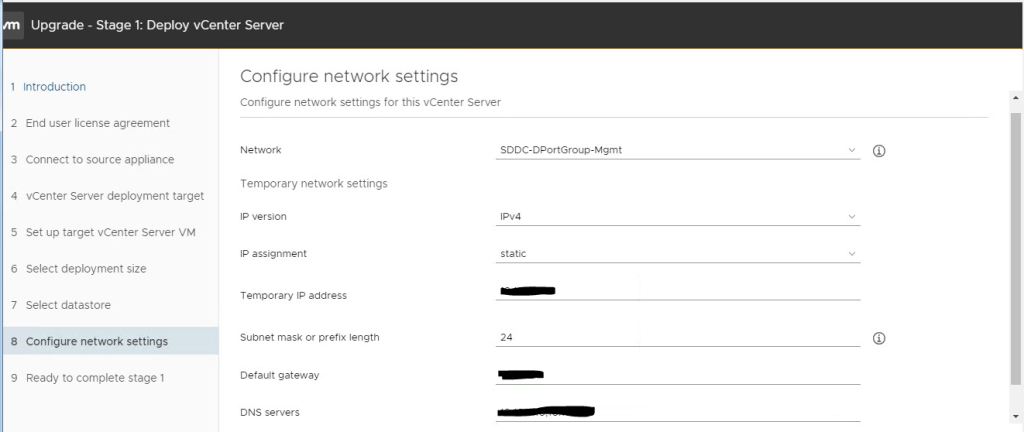
- Provide temporary IP details. These details will be used to bring new VCSA 7.0 online and then data will be migrated from old VCSA 6.7 to new VCSA 7.0.
- Review details and select Finish to start deployment.

- Monitor deployment of new VCSA 7.0 appliance in ESXi host.

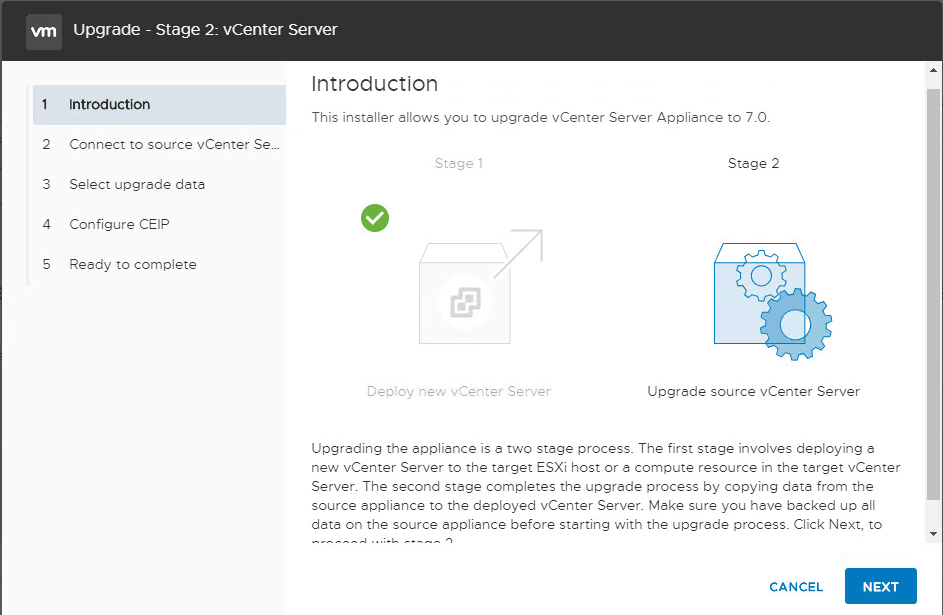
- Once VCSA 7.0 is deployed successfully, we can start with Stage 2. In this stage, all services will be migrated from old 6.7 vCenter server to new VCSA.
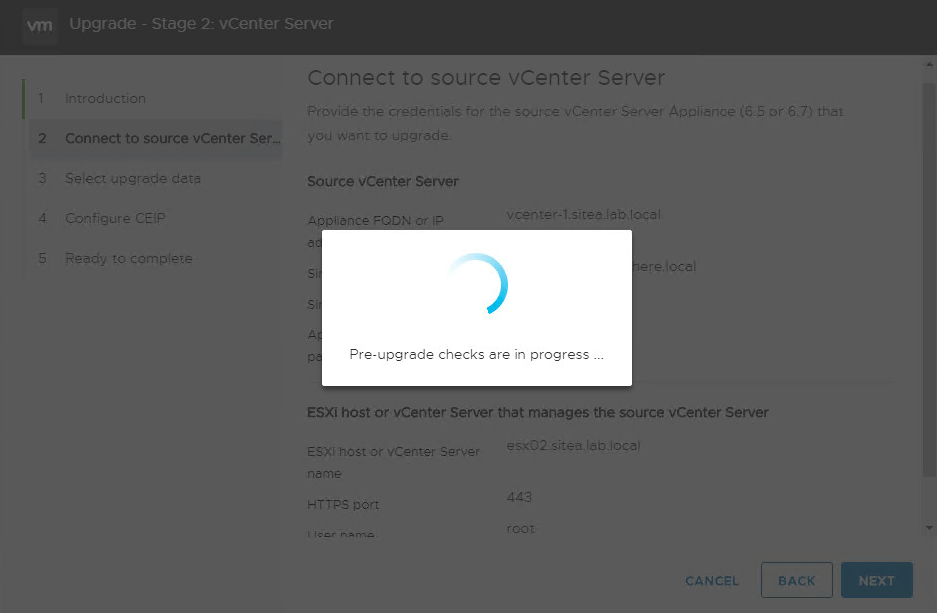
- Setup will start Pre-Upgrade checks to identify any potential issues before proceeding ahead with upgrade.
- Validate any warning which can cause issues with upgrade. As last warning, setup will prompt that external PSC will be converged to embedded PSC.

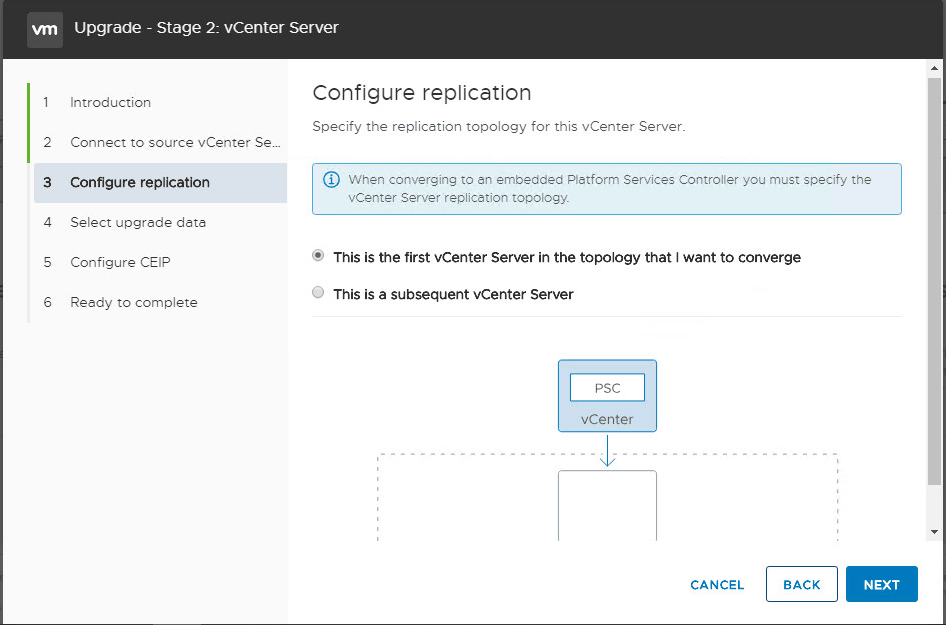
- Select the appropriate replication mode.
- If this is first vCenter that you are upgrade pointing to external PSC, then select option 1.
- If this is second or later vCenter server pointing to external PSC, then select option 2.
- Select appropriate option to upgrade existing data from older vCenter server to new vCenter server.

- Configure CEIP, if you want to join or not.

- Review settings for last time and select Finish to continue upgrade.

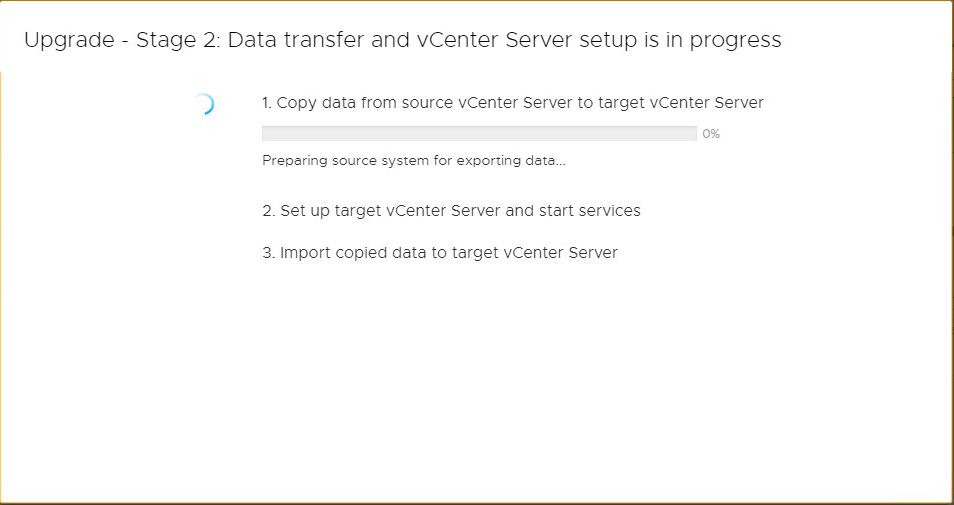
- Upgrade process will start.
- In first step, all data will be exported from VCSA 6.7 and then it will be powered off.
- In Second step, new VCSA 7.0 will be configured with IP address and DNS, NTP settings of old VCSA 6.7.
- Once new VCSA 7.0 is up with existing IP, then services will be started on it.

- After successful upgrade, external PSC cannot be used. So it need to be manually removed with the help of cmsso-util command.

- vCenter server 7.0 is fully upgraded now and up.
- As you can see, support for web-client has been removed and only HTML 5 client is supported from vSphere 7.0 onwards.


Conclusion
vCenter server upgrade is very simple and straight forward process. Distributed deployments can be easily upgraded to embedded PSC in vCenter 7.0 upgrade.
Official VMware vCenter 7.0 Upgrade guide – https://docs.vmware.com/en/VMware-vSphere/7.0/com.vmware.esxi.upgrade.doc/GUID-7AFB6672-0B0B-4902-B254-EE6AE81993B2.html
